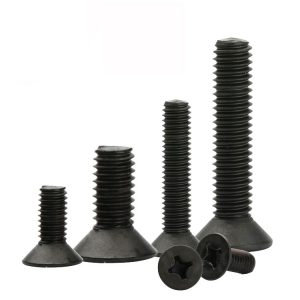
How to measure the coaxiality of the cross groove of the phillips head machine screw to the screw axis?
Sometimes the cross groove and the rod of the phillips head machine screw that are produced are not on the same axis, or the deviation is large. This kind of screw has a great influence on the assembly and can’t even be used. Therefore, we must ensure the coaxiality of the groove and the rod when producing the screw. So how do you measure it?
Measuring the coaxiality of the phillips head machine screw cross slot to the screw axis:

Place the measured phillips head machine screw on the V-frame of GB/T 1219 and turn it. Measure at the notch with the dial gauge specified in GB/T 1219, and measure the maximum difference between the pointer readings. Note: In order to facilitate the inspection, the cylindrical aid with a cone can be assisted, and the conical portion is inserted into the cross recess for inspection.
 |
Skype: kalyn qin
M: +86 18124507113
Tel: +86 0755-85296744
annie@szsst88.com
Add: No. 11, Dinghou Road, Dongfang Community, Songgang Street, Baoan District, Shenzhen, Guangdong, China

|